Seeeduino v4.2——开源的 Arduino 兼容 ATmega328 MCU 开发板
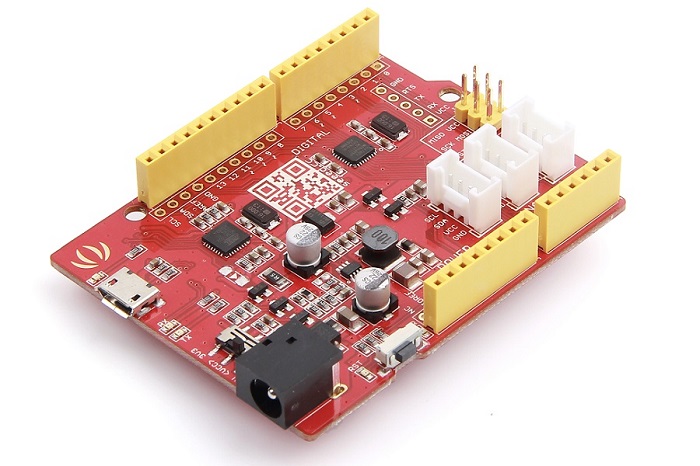
Seeeduino v4.2 是一款开源的 Arduino 兼容 ATmega328 MCU 开发板。 我们认为 Seeeduino v4.2 是最好的 Arduino 衍生物 / 兼容物之一。 Seeeduino v4 是功能丰富,更稳定,易于使用,并且颜值更高。
Seeeduino v4.2 基于 Arduino UNO 引导程序,ATmega16U2 作为 UART 到 USB 转换器(基本上类似 FTDI USB2UART 芯片)。 该板附带一套额外的通孔焊盘,包括所有引脚。 这些焊盘与 0.1“格栅对齐,这样可以轻松焊接额外的引脚插头插入面板,或者用 0.1”点阵通用 PCB 创建您自己的附件 / 扩展板。
您可以通过 micro-USB 电缆对开发板进行编程。 此外,您可以通过 DC 插孔输入(7 至 15V DC)为电路板供电。 有一个选择系统的电源电压 3.3V 或 5V 的开关,如果要将系统设置为 3.3V 与低电压传感器交互,您需要将开关拨到 3.3V 档位。
最后,三个板载 Grove 接口可以使您的电路板轻松连接到 Grove 模块。 想要做一些很棒的东西,只需要一个 Seeeduino v4.2,一些 Groves 就够了。
版本
| 版本 | 上市日期 | 购买途径 |
|---|---|---|
| Seeeduino V4.0 | 2014 年 8 月 15 日 |  不再销售 不再销售 |
| Seeeduino V4.2 | 2015 年 8 月 25 日 |  点击购买 点击购买 |
Seeeduino V4.2 的新特性
V4.0 到 V4.2 有很多升级,如下表所示:
- 重新设计了 DC-DC 模块使开发板的运行更加稳定
- 加入了一个 I2C Grove 连接器
- 去除了开发板顶面左上角部分焊盘.
- 将 USB 接口放在了板子中部
- 重新调整了版面布局使开发板更加美观
创意应用
- DIY
- 物联网智能家居
- 机器人
- 研习
下面是一些有趣的项目可以供您参考
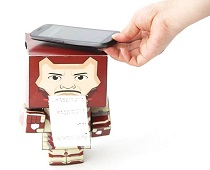
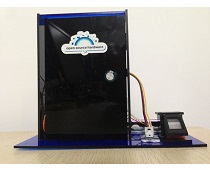
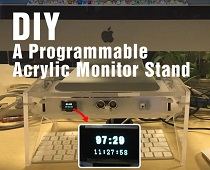
| Paper Man | Fingerprint Lock | Monitor Stand |
|---|---|---|
 |
 |
 |
| Make it Now | Make it Now | Make it Now |
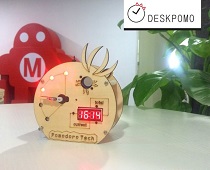
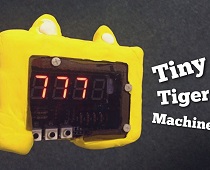
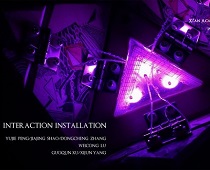
| Desk Promo | Tiger Machine | Colorful Pyramid |
|---|---|---|
 |
 |
 |
| Make it Now | Make it Now | Make it Now |
产品特性
- 和 Arduino UNO 完全兼容
- ATmega328 微处理器
- 14 个数字 I/O 引脚 (6 路 PWM 输出)
- 6 个模拟输入
- ISP 接头
- Arduino UNO-R3 扩展板兼容
- Micro USB 编程供电
- 板载 Grove 连接头
- 可选 3.3V 或者 5V 系统电压
规格参数
| 项目 | 值 |
|---|---|
| DC Jack 输入电压 | 7-12V |
| 5V 引脚 | 使用 Micro USB 供电最大 500mA |
| 5V 引脚 | 使用 DC Jack 供电最大 2000mA |
| 3V3 引脚 | 最大 500mA |
| I/O 管脚直流供电 | 40mA |
| 闪存 | 32 KB |
| RAM | 2 KB |
| EEPROM | 1 KB |
| 时钟频率 | 16 MHz |
| 尺寸 | 68.6mm x 53.4mm |
| 重量 | 26g |
硬件概述
Note
本章节基于 Seeeduino V4.2
下图显示了 Seeeduino v4.2 硬件功能的概述。 Seeeduino v4.2 的各种引脚和引脚功能如引脚图所示, 这可以作为一个快速参考。
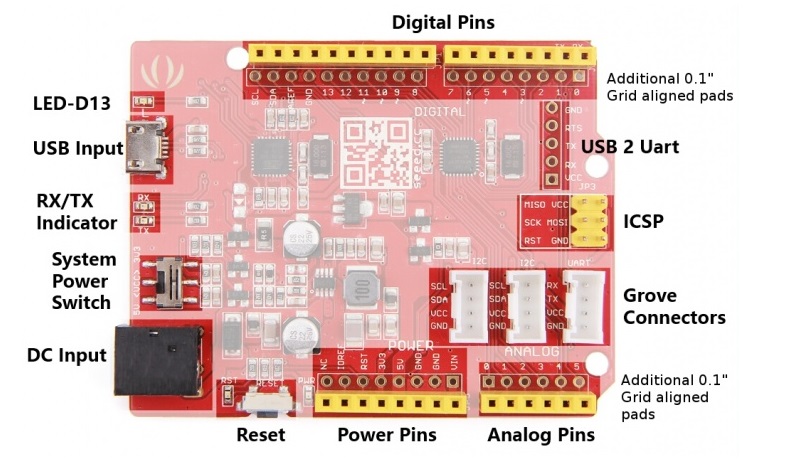
- LED-D13 LED 连接到电路板的 D13 引脚。 这个等可以作为作程序的板载 LED 指示灯。
- USB Input USB 端口用于将电路板连接到 PC 进行编程和上电。 Micro USB 是大多数 Android 手机和其他设备中普遍存在的 USB 接口。 在你的周围可能有几十根这样的电缆。
- RX/TX Indicator TX 和 RX LED 指示灯连接到 USB 转 UART 芯片的 TX 和 RX 引脚。 他们会自动工作,当有数据发送或者接收时指示工作状态
- System Power Switch 滑动开关用于将电路板的逻辑电平和工作电压改为 5V 或 3.3V。 如今,许多新的和好用的传感器都被设计成只能使用 3.3V 电压,其他 Arduino 开发板需要在开发板和这些传感器之间放置一个逻辑电平转换器。 使用 Seeeduino V4.2,您只需滑动开关即可!
- DC Input 直流电源插孔允许您的 Seeeduino 板通过 USB typeA 适配器供电,以便您可以在需要时为项目提供更多的电力。 例如,使用直流电机或其他大功率器件时,直流输入可以为 7V-15V。
- Reset 复位按钮方便地放置在侧面,以便即使将扩展板放置在顶部也可以重置 Seeeduino 板。 在其他 Arduino 板上并不是这样,按钮放置在顶部,很难拨动。
- Power Pins & Analog Pins 正如引出的数字引脚插座一样,我们考虑到您在进行自己的项目时可能需要用到额外的相关引脚。特别是如果您想要在不使用面包板的情况下为多个传感器 / 设备供电,则需要通过 Power Pins 引线出去。
- Grove Connectors SeeedStudio 具有可以使用 I2C 或 UART 连接器的各种传感器 / 设备。 此外,我们销售独立的 Grove 连接器,以帮助您制作自己的传感器连接。 如果要使用这些引脚,则 I2C Grove 连接器分别连接到 SDA 和 SCL 的模拟引脚 A4 和 A5。 UART Grove 连接器分别连接到数字引脚 0 和 1,用于 RX 和 TX。
- ICSP 这是 ATmega328P 的 ICSP/ISP 引脚,对于 Arduino Uno, Due, Mega, 和 Leonardo 以及和它们兼容的开发板来说,该引脚都位于相同的标准位置。此处的 SPI 引脚 MISO,SCK,MOSI 同时也分别连接到数字引脚 12,13,11,这样的设计和 Arduino Uno 是完全一致的。
- USB 2 Uart USB 转串口的引脚分配. 这些焊盘可以用于通过将板载 ATmega328 置于复位模式与其他 UART 器件进行交互。 这使得 Seeeduino V4.2 可以用作为 USB 转 UART 实用板。
- Additional 0.1" Grid aligned header Pads 有时,直接将传感器 / 设备连接到电路板而不是通过面包板进行连接是非常方便的,或者您可能希望在完成项目后将传感器直接焊接到电路板,或者也许您想要在设备占用输出引脚的同时监测引脚… 为了满足以上需求,我们添加了这些额外的过孔焊盘以帮助您。 这些焊盘以 0.1“格栅排列,可方便地与通用点阵 PCB 配合使用。
Warning
当您在插拔 micro USB 的时候请您注意不要用力过猛,否则您可能会伤害它.
安装驱动
首先,您需要准备:
- 准备一条 Micro-USB 线缆
- 首先您需要准备一条 Micro-USB 数据线,通用的安卓数据线就好。如果您找不到合适的线缆,您可以点击这里购买。 点我购买哟.
- 连接到开发板
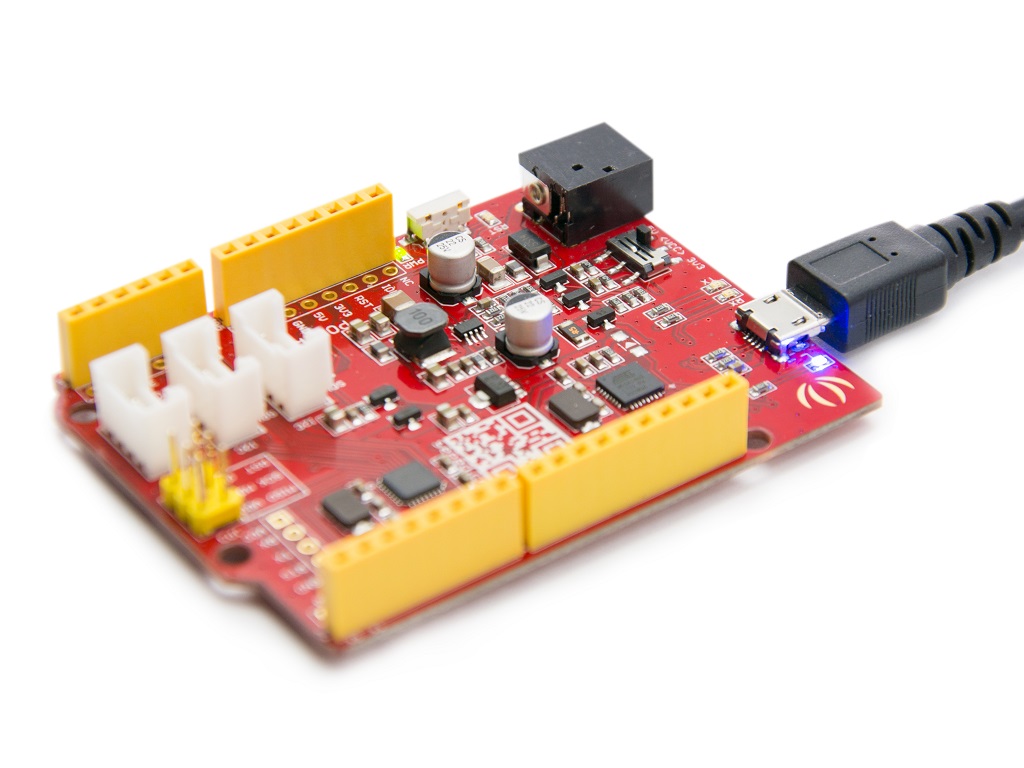
- Seeeduino V4.2 可以通过 USB 和外部供电接口供电,当使用 USB 数据线连接开发板后,绿色的电源指示灯(标注为 PWR)将会点亮。
Windows 系统
Note
这个驱动适用于 Windows XP, Windows Vista, Windows 7, Windows 8/8.1 和 Windows 10.
- 插入您的电路板,等待 Windows 开始其驱动程序安装过程。 过了一会儿,尽管程序已经很努力了,可能还是会提示您安装失败。
- 不要灰心,点击 Windows 的开始健,然后打开控制面板。
- 在控制面板中,选中系统和安全。 接下来,点击系统。 系统窗口打开后,打开设备管理器。
- 查看端口(COM&LPT)。 你应该找到一个名为“Seeeduino v4.2”的开放端口。 如果没有 COM&LPT 部分,请查看“其他设备”中的“未知设备”。
- 右键点击 "Seeeduino v4" 端口选择 “Update Driver Software” 选项。
- 然后, 选择 “浏览我的电脑以安装驱动” 选项。
- 最后,找到您刚刚下载的名为 "seeed/usb/serial.inf" 的驱动
- Windows 将自动安装驱动。
Mac OSX
您不需要安装任何驱动.
入门指南
Note
这部分基于 Arduino 1.6.9,运行在 Windows 10 下.
首先,您需要安装 Arduino 软件。
Note
如果 Arduino 软件默认是不同的语言,您可以点击下面的链接来学习设置语言。 点击这里设置啦
打开名为 Blink 的例程
打开 Blink 例程: File(文件) > Examples(示例) >01.Basics > Blink.
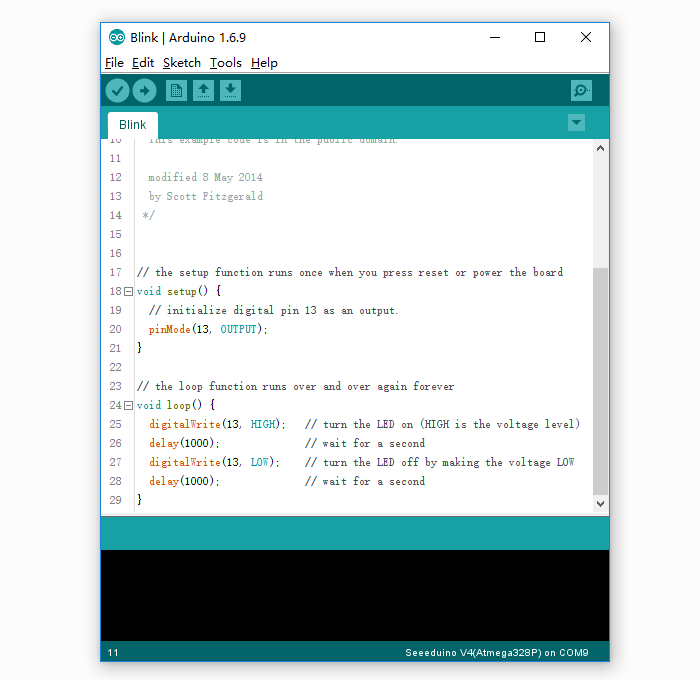
添加 Seeeduino 到 您的 Arduino IDE
Arduino IDE 中没有默认包括 Seeeduino V4.2 的板卡, 点击查看 怎样将 seeeduio 板卡加载到 Arduino IDE 。
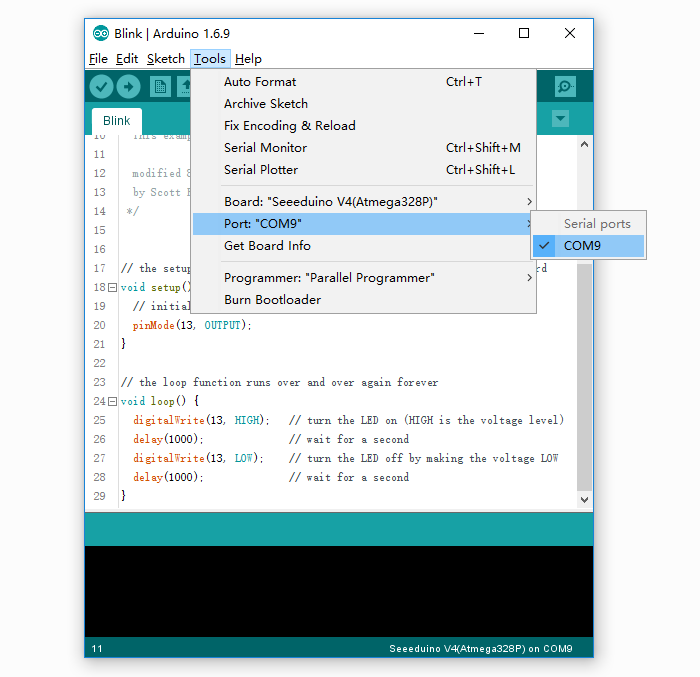
选择您的板卡
您需要从这里选 Tools(工具) > Board(开发板) 在菜单中选择和您的开发板对应的选项。本例程中Seeeduino V4. 对应的应该选择 Arduino V4 ,如下图所示: 
选择您的端口
为您的开发板选择对应的端口 Tools(工具) | Serial Port() menu. This is likely to be COM3 or higher (COM1 and COM2 are usually reserved for hardware serial ports). To find out, you can disconnect your Arduino board and re-open the menu; the entry that disappears should be the Arduino board. Reconnect the board and select that serial port.
Note
On the Mac, this should be something with /dev/tty.USBmodem.
升级程序
Now, simply click the “Upload” button in the environment. Wait a few seconds - you should see the RX and TX LED indicators on the board flashing. If the upload is successful, the message “Done uploading.” will appear in the status bar.

A few seconds after the upload finishes, you should see the pin 13 (L) LED on the board start to blink (in orange). If it does, congratulations! You’ve gotten Arduino up-and-running. If you have problems, please see the troubleshooting suggestions.
Getting Started on Linux
For using on Linux, please go to Installing Arduino on Linux
Resources
- Schematic
- Datasheet
- Download above all
-
References
FAQ
Q1. What’s the difference between Arduino UNO and Seeeduino V4
Seeeduino V4 is fully compatible with Arduino UNO. The mainly difference list below:
- Use a micro USB to power and program the board
- 3 on-board Grove connector
- 3.⅗V system power switch
- DCDC circuit instead of LDO, more efficiency
- Others circuit improve
Q2. I can’t upload my sketch to Seeeduino V4
Please check,
- If the Power LED on
- If you choose the right Port and Board (Seeeduino V4)
- Close and reopen Arduino IDE and try again
Q3. Where can I find technical support if I have some other issue.
You can post a question to Seeed Forum or send an email to techsupport@seeed.cc.


